
Fiberglass is a widely used material found in insulation, pipes, boats, HVAC systems, and many industrial and residential applications. While durable and cost-effective, fiberglass can become a serious concern when it’s damaged, outdated, or improperly installed. Removing fiberglass safely requires careful planning, proper equipment, and a step-by-step approach to protect both people and property.
Identifying Bad Fiberglass Insulation and Why It’s Necessary
Fiberglass can pose health risks when disturbed. Tiny glass fibers can become airborne and cause skin irritation, eye discomfort, and respiratory issues if inhaled. Removal is often required during renovations, after water or fire damage, or when aging insulation no longer meets efficiency or safety standards.
Step 1: Inspection and Assessment
The process begins with a thorough inspection of the affected area. Professionals evaluate:
- The location and condition of the fiberglass
- The extent of contamination or damage
- Potential hazards such as mold, moisture, or structural concerns
Step 2: Preparation and Containment
Before removal starts, the area is carefully prepared to prevent fiberglass particles from spreading. This includes:
- Sealing off the workspace with plastic sheeting
- Turning off HVAC systems to avoid airborne circulation
- Posting warning signage to restrict access
Step 3: Personal Protective Equipment (PPE)
Anyone involved in fiberglass removal must wear appropriate PPE, such as:
- Protective suits or coveralls
- Gloves
- Safety goggles
- Respirators or masks
Step 4: Fiberglass Removal
Fiberglass is carefully removed using specialized tools and techniques. Depending on the application, this may involve:
- Cutting and extracting insulation batts or panels
- Vacuuming loose fibers with HEPA-filtered equipment
- Removing contaminated materials without breaking them apart
Step 5: Proper Disposal
Removed fiberglass must be sealed in heavy-duty bags or containers and disposed of according to local regulations. Fiberglass is not typically recyclable and must be handled as construction or industrial waste.
Step 6: Cleaning and Decontamination
Once removal is complete, the area is thoroughly cleaned. This includes:
- HEPA vacuuming surfaces
- Wiping down walls, floors, and equipment
- Conducting air quality checks when necessary
Step 7: Final Inspection and Restoration
A final inspection confirms the area is safe and free of fiberglass contamination. After approval, restoration can begin—whether that means installing new insulation, repairing structures, or moving forward with renovation plans.
Contact Us Today to Request a Free Estimate!
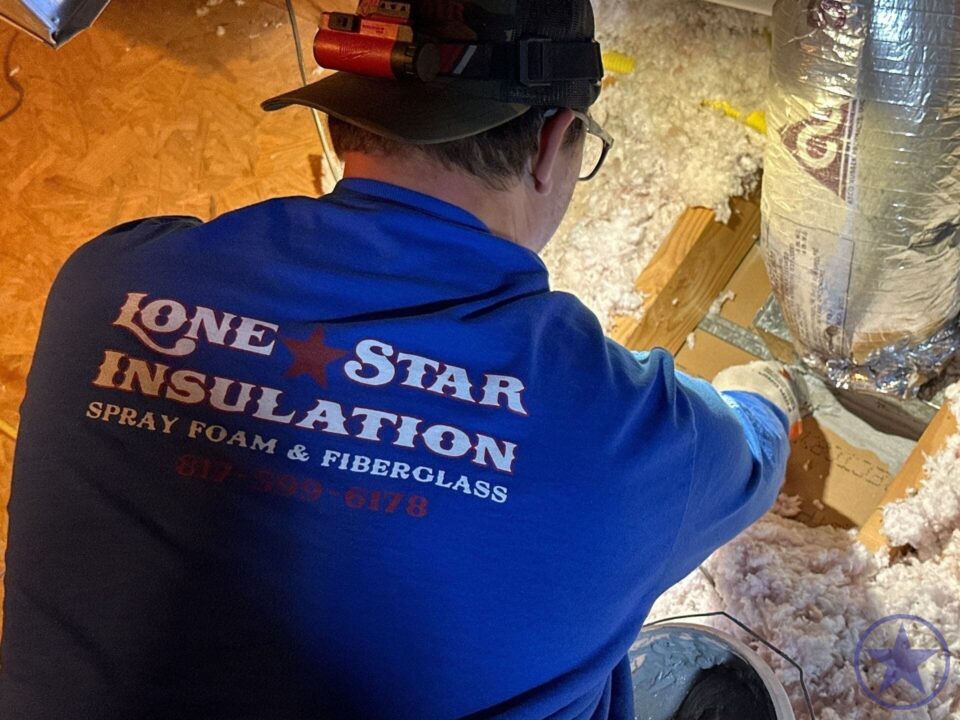
Fiberglass removal is not just about pulling out old material — it’s about understanding why removal is necessary, how it’s done safely, and what comes next. If you’re facing a fiberglass removal project — whether due to moisture issues, pest contamination, or declining performance — consulting trained specialists can help protect your health, your property, and your peace of mind. At Lone Star Insulation, LLC, we are proud to be that specialist. For 15+ years, we’ve properly handled insulation removal to best set the stage for a safer, healthier, and more energy-efficient space.
Contact us today to discuss your fiberglass removal project and request a free estimate!

 Kristen Hull
 Elizabeth Clymer
 Chuck Lee
 Creeks Edge Cottages
 Eric Rohlfing
 Billy Atwood
 Leonard Sanmann
 jennifer westbrook
 Missy Alcocer
 B R
B R