
Do you have rooms in your house that feel like a sauna in summer or an icebox in winter? If you’re here in Weatherford or anywhere across the DFW area, you know exactly what we mean.
A DIY spray foam insulation kit might be the fix you need. We’ve helped hundreds of Texas property owners seal their homes tight, and we’ve seen these kits work wonders for smaller jobs. They can plug gaps fast and make a real difference in comfort.
Keep reading to see how these kits actually work, when they make sense for your project, and how to use one safely. You might discover the simple upgrade that changes everything in your space.
What Are DIY Spray Foam Insulation Kits?
DIY spray foam insulation kits are all-in-one packages that let you tackle projects like attic insulation in Fort Worth, garage walls, or crawl space insulation on your own.
Most kits include two tanks. One holds a resin, the other a hardener. When these chemicals meet at the nozzle, they create expanding foam that seals cracks, fills gaps, and stops air leaks in seconds.
The foam sticks to almost anything: wood studs, subfloors, concrete, and masonry. You don’t need fancy equipment either. Just basic protective gear (gloves, goggles, and long sleeves) and the kit’s included spray gun.
Most manufacturers provide clear instructions. Following them keeps things safe and simple. We see homeowners across Weatherford and Fort Worth grab these kits for small jobs where calling in a spray foam insulation contractor, as Fort Worth teams use, isn’t practical.
For smaller tasks, these handy kits make sense. They help boost comfort and plug energy-wasting leaks fast before Texas heat rolls back around. For bigger areas or tricky spots, though, you might want our team’s help to get that tight seal throughout an entire building.
Types of DIY Spray Foam Insulation Kits
Choosing the right type of foam can make or break your project. Let’s break down the two main options and what makes each one tick.
Closed-cell spray foam kits
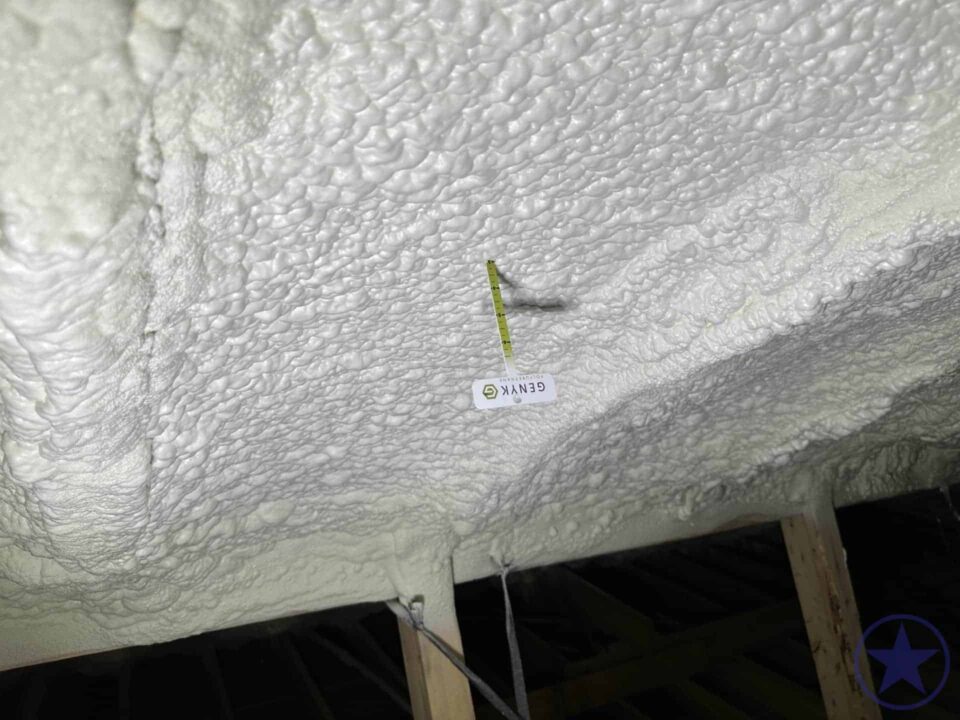
Closed-cell kits create a dense, rock-solid barrier that locks out both heat and moisture. This is exactly what attic insulation in Fort Worth homes need when summer temps hit 100°F for weeks straight. Closed-cell foam delivers an R-value of R-7 per inch. That’s nearly double what open-cell offers, which means you get powerful thermal resistance with less material.
The foam sets hard as concrete after curing. The airtight seal stops drafts cold and actually strengthens your walls, too. Many of our customers pick closed-cell for crawl spaces or new builds where we’re sealing every nook with our building-science-first approach. A 600 board-foot Tiger Foam closed-cell kit runs about $785 as of 2026. These kits work great for exterior-facing projects where moisture control matters most.
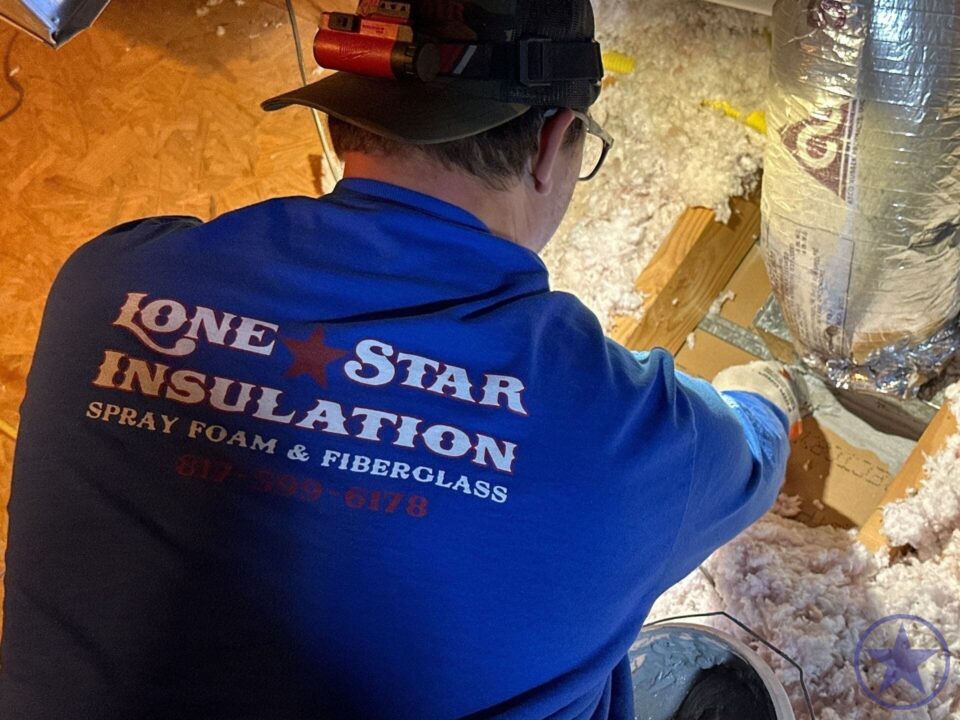
With the right prep and safety steps, homeowners can handle smaller jobs. But folks still turn to us when cleanup or complex applications call for professional results from our experienced Lone Star Insulation crew.
Open-cell spray foam kits
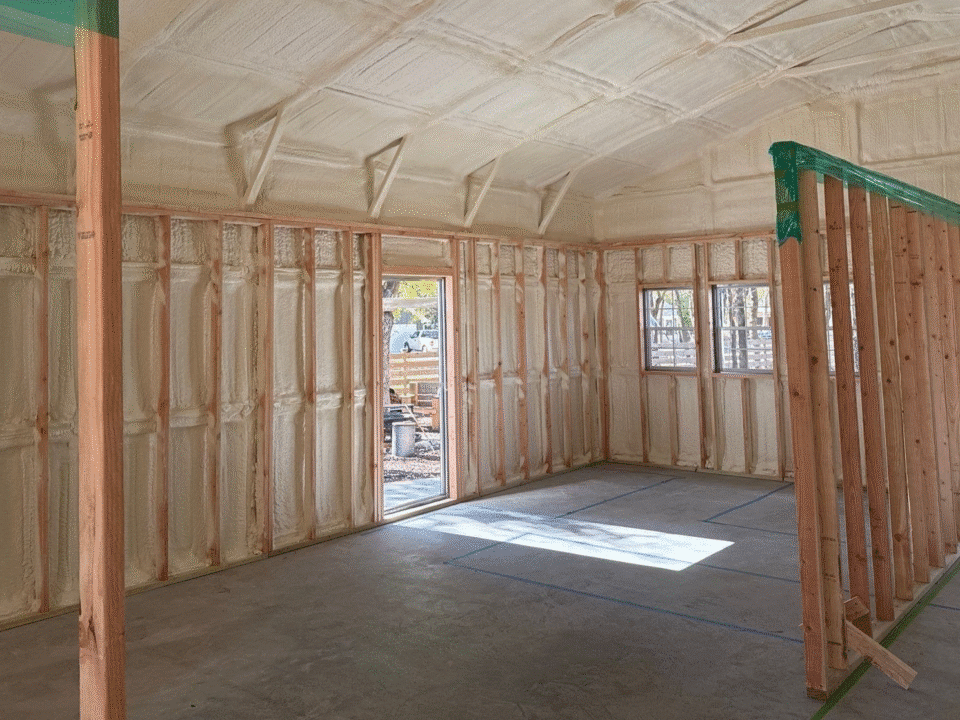
Open-cell foam kits work differently. The foam expands fast and fills gaps with a sponge-like texture. This type weighs less than closed-cell, so we use it in attics, walls, or crawl spaces where air sealing matters more than structural strength or moisture blocking. It has an R-value of around R-3.7 per inch.
We see open-cell foam stop drafts and help keep cooling bills down across Weatherford every summer. According to industry data from 2026, homeowners can save up to 15% on heating and cooling costs just by air sealing and adding insulation.
A 1,350 board-foot open-cell kit from Tiger Foam costs around $850. That’s a lot of coverage for the price. If you want to seal smaller areas without hiring a professional spray foam team, these kits give good value for spot fixes and add-ons. For bigger jobs, though, spraying gets messy and tricky. That’s when you might need an extra hand from someone who knows their way around foam work.
How DIY Spray Foam Insulation Kits Work
Preparation and workspace setup
First, clear the area and protect your floors with drop cloths or plastic sheeting.
Texas dust goes everywhere if you let it, so blocking off nearby rooms helps keep things tidy. Check for moisture issues before starting. Trapped dampness causes headaches down the line, and as part of our building-science-first approach at Lone Star Insulation, this step protects both your property and the final results.
Crack open windows for ventilation while you gear up with gloves, goggles, and a respirator mask. Proper ventilation prevents toxic fume exposure and health risks during application.
Spraying foam can get messy fast. Good containment saves cleanup time later. In Weatherford homes or commercial spaces, careful prep means safe work without harming valuables or creating extra dust to chase after installation.
Applying the spray foam
Keep a steady hand while spraying. Move the nozzle slowly along each cavity or gap. Good coverage comes from working in thin layers, not dumping it all at once. The two most common mistakes are spraying lifts too thick and failing to wait for each layer to cure.
If you rush or spray too much, the foam grows uneven and gets messy fast. Tackle small spots first to control thickness and avoid waste. Our team learned early that proper distance matters. Too close makes lumps, too far wastes foam. Speaking from real job sites in Weatherford, overlapping each spray pass fills cracks tightly against the Texas heat and wind leaks.
One pro tip many users share on forums like Reddit: maintain the ideal chemical temperature between 70°F and 80°F for best results. Below that, the foam won’t expand properly. Above that, you risk excessive density and lower yield. Kit instructions give helpful pointers for each brand. Following those tips keeps things smooth and delivers results worth the effort.
Curing and trimming the insulation
After spraying, the foam needs time to cure. Most kits can be set up in less than 24 hours. Let it harden before touching or trimming it. Cutting or shaping too soon can pull the foam right off the wall, so patience pays off here.
Once cured, grab a handsaw or serrated blade. Trim any spots where the foam sticks out past studs or framing. This step makes drywall work smoother later on and helps avoid bumps under sheetrock that keep your finished walls looking clean.
For folks working with spray foam insulation in Weatherford, keeping edges tidy means less patching down the road. If you run into difficulties or notice gaps not filling properly, that’s usually a sign to bring in professional help instead of pushing through a DIY attempt.
Benefits of DIY Spray Foam Insulation Kits
Energy efficiency improvements
Sealing air leaks with spray foam makes buildings use less energy, plain and simple. Spray foam stops outside air from sneaking in and keeps cooled or heated air inside. That means your HVAC system doesn’t run as long or work as hard. According to Energy Star estimates, homeowners can save an average of 15% on heating and cooling costs by air sealing and adding insulation to key areas.
Our Lone Star Insulation team sees this difference across Weatherford homes and businesses every single day. In Texas specifically, where summer temperatures regularly exceed 100°F, homeowners report energy savings between 20% and 35% after proper insulation.
Moisture stays out, drafts vanish, and rooms stay at steady temperatures even when Texas weather throws curveballs. Utility bills drop month after month. Some folks notice smaller bills right away after installation.
Easy application process
Most kits come with simple, step-by-step instructions. You just shake the canisters, connect the spray nozzle, and start applying. The foam sticks to wood, metal, or concrete with almost no prep work except keeping things clean and dry.
Even in tricky corners of attics or crawl spaces around Weatherford, foam spreads easily and fills gaps that fiberglass batts miss. Most kits allow you to insulate a wall or attic section in under an hour, which is way faster than cutting and stuffing rolls.
Immediate air sealing means drafts vanish fast. For folks handling small projects themselves rather than calling in professionals for spray foam insulation Weatherford-wide, these kits keep things quick and stress-free.
A smooth finish takes just a little trimming after curing. Grab a knife or saw once it sets up hard as a brick by the next morning. Most times, there’s no mess left behind but empty boxes ready for recycling.
Cost-effectiveness for small projects
DIY spray foam kits often cut down installation costs for jobs like attic touch-ups or sealing small wall leaks.
A quick project from Lone Star Insulation, instead of hiring out, lets you keep more money in your pocket while still reducing those energy bills. Tackling these projects on your own means skipping extra labor charges and only insulating the rooms or spaces you choose.
With clear guidance and careful application, even small efforts stretch a tight budget further. Energy savings add up over time, too, especially since Texas heat likes to sneak inside any crack it finds.
We find that doing these tasks yourself makes sense for smaller scopes. If things get larger or trickier, that’s when you should look into professional help, just like the experts suggest for complex jobs.
Commercial Applications of Spray Foam Insulation
Spray foam works well for Texas businesses, not just homes. We use it in places like pole barns, offices, metal shops, and warehouses all over DFW. Our team at Lone Star Insulation brings more than 50 years of combined experience to every commercial project.
We focus on air sealing commercial spaces so buildings waste less energy and stay comfortable year-round. For new builds or retrofitting old structures, our building-science-first approach helps us solve airflow problems the right way.
Foam insulation adapts to tricky shapes and tough spots that many other materials cannot touch. Projects run cleaner and smoother because we treat each property with care from start to finish.
Sometimes a big commercial job means you should hire a professional instead of using DIY spray foam kits. Safety matters as much as savings on your utility bill, and the scale of commercial work often exceeds what kit equipment can handle properly.
Safety Precautions for Using Spray Foam Kits
After considering commercial uses, we need to take safety seriously. Using spray foam insulation kits saves money, but it brings real risks if handled incorrectly. Here’s what you must do to stay safe:
- Work in well-ventilated areas so fumes from the spray foam do not collect. Open windows or use fans if possible.
- Wear protective gear every time. You need a respirator for organic vapors, wrap-around goggles, chemical-resistant gloves, and a full protective suit. Tape your gloves to your sleeves.
- Lay down sheets or tarps to keep the workspace clean and prevent sticky surprises on floors or walls.
- Follow the kit instructions closely. Don’t rush steps, as curing times and spray patterns matter for both performance and safety.
- Keep the chemical temperature between 70°F and 80°F for optimal performance. Materials stored below 50°F can become irreversibly damaged, while storage above 80°F causes loss of blowing agent in closed-cell resins.
- Clean up spills fast with appropriate solvents before foam hardens into a rock-solid mess that’s tough to remove.
- Store unused materials safely away from children, pets, and direct sunlight to avoid accidents or fire hazards.
- Hire a professional instead of DIY spray foam for large jobs or spots that are hard to reach. This keeps everyone safer while meeting building codes.
- Educate everyone on-site about emergency procedures in case something goes wrong. Quick action lowers risk when working with chemical products.
- Check your local Texas regulations, since some commercial spaces require licensed installers for certain types of foam applications.
Conclusion
Spray foam kits let us tackle small insulation jobs fast, without too much fuss. They’re handy for patching up leaks or tight spaces where other materials just won’t cut it. Proper setup and safety make a big difference in how well the job turns out.
Some projects call for a professional’s touch, especially if you’re unsure about health risks or dealing with tricky areas. For simple fixes, though, these kits pack plenty of punch right out of the box.
Contact Lone Star Insulation for more information about our professional insulation process.
FAQs
1. When should you hire a professional instead of DIY spray foam?
We recommend calling a professional whenever your project exceeds a simple rim joist or if you cannot guarantee the strict 75-degree chemical temperature required for a safe cure. In our experience across Weatherford, professional rigs with heated hoses are the only way to ensure the foam bonds correctly to roof decks during Texas temperature swings.
2. What makes a project too big for DIY spray foam kits?
A standard ‘600 board foot’ kit sounds large, but since you need about 3 inches of depth for a typical wall, that kit actually covers less than 200 square feet of wall space. Once you need more than two of these kits, the material cost often exceeds what our team charges to do the job with superior commercial-grade foam.
3. Are there safety reasons to skip the DIY route?
Yes, because the isocyanates in spray foam require a full-face respirator with a dedicated fresh air supply, not just the simple dust masks found in most hardware store kits.
4. When should you hire a professional instead of DIY spray foam for older homes?
Older Texas properties often contain knob-and-tube wiring that relies on open air to dissipate heat and creates a serious fire hazard if you accidentally encapsulate it with foam. Our team always performs a pre-spray safety audit to identify these hidden electrical risks that a DIYer might overlook until it is too late.

 Kristen Hull
 Elizabeth Clymer
 Chuck Lee
 Creeks Edge Cottages
 Eric Rohlfing
 Billy Atwood
 Leonard Sanmann
 jennifer westbrook
 Missy Alcocer
 B R
B R